
Introduction
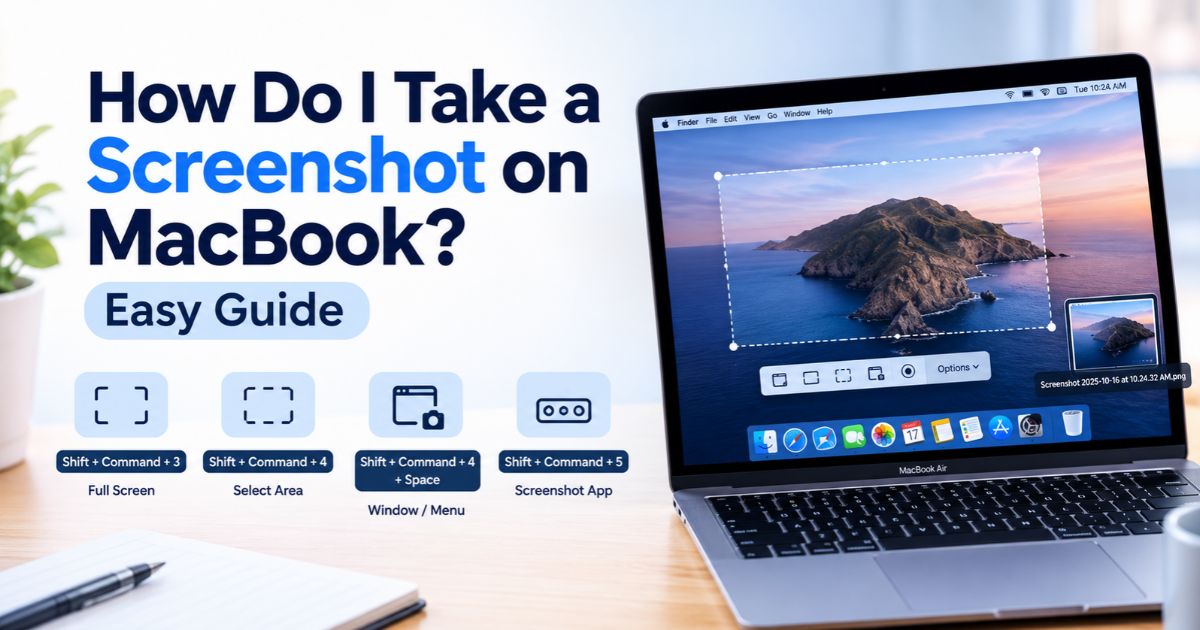
Knowing how do I take a screenshot on MacBook makes it easy to capture anything on your screen without installing extra software. macOS includes built-in screenshot shortcuts that work on both MacBook Air and MacBook Pro. Press Shift-Command-3 to capture the entire screen, Shift-Command-4 to select a specific area, or Shift-Command-5 to open the Screenshot toolbar for additional capture and screen-recording options.
This guide explains each screenshot method, where your screenshots are saved, how to copy an image to the clipboard instead of saving it as a file, and how to troubleshoot shortcuts that are not working. You will also learn how to capture individual windows, menus, and the Touch Bar on compatible MacBook models.
Key Takeaways
- Shift-Command-3 captures the entire screen, and Shift-Command-4 captures a portion.
- Shift-Command-4, then the Space bar, captures a single window or menu.
- Shift-Command-5 opens the Screenshot app, where you can set a timer and choose where files are saved.
- Screenshots save to the desktop by default, as PNG files with the date and time in the name.
- Add the Control key to any shortcut to copy the screenshot to the clipboard instead.
- You can change the shortcuts in System Settings.
How Do I Take a Screenshot on MacBook? Shortcuts at a Glance
| What you want to capture | Shortcut |
| The entire screen | Shift-Command-3 |
| A portion of the screen | Shift-Command-4, then drag |
| A window or the menu bar | Shift-Command-4, then the Space bar, then click |
| A menu and its items | Open the menu, press Shift-Command-4, then drag over the items |
| Screenshot app (all options and screen recording) | Shift-Command-5 |
| Copy to the clipboard instead of saving a file | Add Control, for example Control-Shift-Command-3 |
| The Touch Bar (Macs that have one) | Shift-Command-6 |
How to Screenshot the Whole Screen
Press and release Shift, Command, and 3 together. If a thumbnail appears in the corner of the screen, click it to edit the screenshot, or wait and it saves to your desktop.
How to Screenshot Part of the Screen
- Press and release Shift, Command, and 4 together. The pointer turns into a crosshair.
- Click and hold the mouse or trackpad button, then drag across the area you want.
- Release the button to take the screenshot.
To cancel, press the Esc key before you release. To move the selected area without changing its size, hold the Space bar while you drag.
How to Screenshot a Window or Menu
These steps follow Apple’s Take a screenshot on Mac guide.
- Open the window or menu you want to capture.
- Press and release Shift, Command, and 4, then press and release the Space bar. The pointer turns into a camera icon.
- Click the window or menu to capture it. To leave the windows’ shadow out of the picture, hold the Option key as you click.
Press Esc to cancel. To capture a menu together with its items, open the menu, press Shift-Command-4, and drag the crosshair over the items you want.
How to Use the Screenshot App (Shift-Command-5)
Press Shift-Command-5 to open the Screenshot app. You can also find it with Spotlight or in the Utilities folder inside Applications. A toolbar appears with tools to capture the entire screen, a window, or a portion, and to record the entire screen, a window, or a portion.
The Options menu lets you:
- Choose where files are saved, either one of the preset locations or Other Location
- Set a timer, so the capture starts after a delay
- Turn the floating thumbnail on or off
- Remember your last selection for the next capture
- Show or hide the mouse pointer
- Choose a capture format, SDR or HDR, on supported Macs with macOS Tahoe 26 or later
Apple explains that SDR is the standard format that suits most displays, and it uses the PNG format. HDR captures more brightness and color, but you need an HDR display to see the difference, and it uses the HEIF format.
To start, click Capture for the full screen or a selected portion. For a window, move the pointer over it and click.
Where Do Screenshots Save on a MacBook?
By default, screenshots save to your desktop as PNG files. According to Apple’s Mac User Guide, the file names begin with “Screenshot” and include the date and time.
To change the folder, press Shift-Command-5, open Options, and pick a destination under Save to.
When the floating thumbnail shows in the bottom-right corner, you can:
- Swipe right to save the file immediately and dismiss the thumbnail
- Drag it into a document, an email, a note, or a Finder window
- Click it to mark up the screenshot or share it
If you rest the pointer on the thumbnail, it stays on screen until you act on it or move the pointer away.
How to Copy a Screenshot to the Clipboard
If you want to paste the screenshot straight into an email or a document instead of saving a file, hold the Control key along with the usual keys. For example, press Control-Shift-Command-3 to copy the whole screen. You can also Control-click the floating thumbnail and choose Save to Clipboard. Then open the app you want and press Command-V to paste.
How to Take a Delayed Screenshot
A timer helps when you need to set something up first, such as a hover tip or an open pop-up. Press Shift-Command-5, open Options, choose a delay under Timer, and then click Capture.
How to Record Your Screen Instead
The same toolbar can record video. Press Shift-Command-5, choose a record tool for the entire screen or a portion, and click Record. To stop, click the Stop Recording button in the menu bar. Recordings save as .mov files.
How to Change the Screenshot Shortcuts
Open the Apple menu, choose System Settings, click Keyboard, click Keyboard Shortcuts, and then select Screenshots in the sidebar. You can review or change each shortcut there.
A Note About Shift-Command-6
On a Mac with a Touch Bar, Shift-Command-6 captures the Touch Bar. Be aware that Apple’s macOS 27 documentation gives Command-Shift-6 a different job when Siri AI (Beta) is turned on: asking Siri about a portion of your screen. Command-Shift-Space asks about the active window. Those are Siri features and not screenshots.
Screenshot Shortcut Not Working? Try This
- Press the keys together. Hold Shift and Command, then tap the number key.
- Try the Screenshot app. Press Shift-Command-5, or search for Screenshot in Spotlight. If the toolbar opens and captures, only the shortcut is the problem.
- Check the shortcut settings. Open System Settings > Keyboard > Keyboard Shortcuts > Screenshots and make sure the shortcuts are turned on and unchanged.
- Check the save location. The screenshot may have worked but saved somewhere else. Look in Options in the Screenshot app.
- Try a different app. Apple notes that some apps, such as the Apple TV app, might not allow screenshots of their windows.
- Restart your MacBook. Save your work first, then restart and try again.
FAQs
What is the easiest way to take a screenshot on a MacBook?
Press Shift-Command-3 to capture the entire screen. Use Shift-Command-4 when you only need part of it.
How do I screenshot a single window?
Press Shift-Command-4, press the Spacebar, then click the window. Hold Option as you click to leave out the shadow.
Can I take a screenshot without keyboard shortcuts?
Yes. Open the Screenshot app with Spotlight or from the Utilities folder in Applications, then click a capture tool.
What file format are Mac screenshots?
PNG files. On supported Macs running macOS Tahoe 26 or later, choosing HDR in the Screenshot app’s Options menu saves the screenshot in the HEIF format instead.
Why can’t I find my screenshot?
Check the desktop first. If it is not there, press Shift-Command-5 and look at Options > Save to, because the location may have been changed. It could also have been copied to the clipboard if you held Control.
How do I paste a screenshot without saving it?
Hold Control along with the screenshot shortcut, then press Command-V in the app where you want it.
Final Thoughts
On a MacBook, Shift-Command-3 captures the full screen, Shift-Command-4 captures a selection or, with the Space bar, a window, and Shift-Command-5 opens the Screenshot app with the timer, save location, and recording options. Add Control to copy instead of saving. If a shortcut fails, test the Screenshot app and check your shortcut and save-location settings.
Recent Article : Factory Reset iPhone Without Passcode: 3 Safe Methods

Jennifer Aston is a passionate poetry curator and writer with a deep love for the written word. She believes poetry has the power to heal, inspire, and connect people across all walks of life. Through PoemSteric, she brings together timeless and modern verses for every emotion and every moment.